


Touch Panel
The main display and touch panel area of the 3Bomber Cube Mini scale. Power button is on the left, and doubles as a tare button and a smart mode start button. T on the right is for starting and stopping the timer, and changing from grams to ounces.


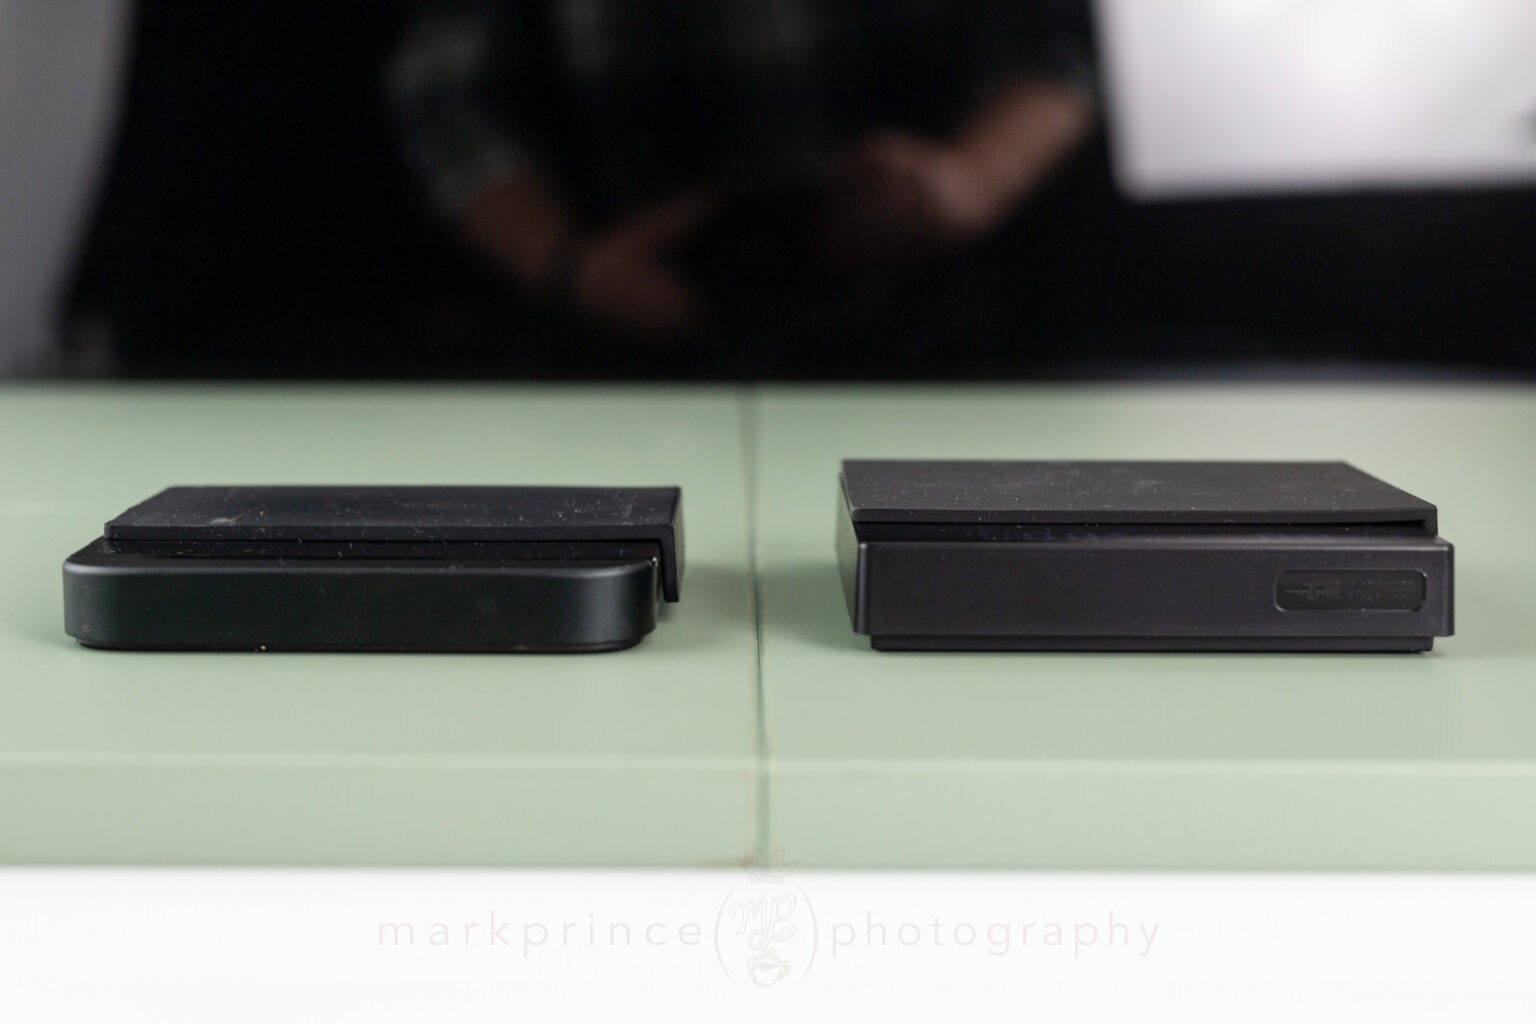
Acaia Lunar and 3Bomber Scale
Side by side, both the Lunar and 3Bomber scales are the same width and depth, but the Acaia remains one of the lowest profile scales available today.


Support CoffeeGeek
If you enjoy and learn from this resource, please consider making a one time or recurring donation to help support our work and fund purchases for future reviews.

Acaia Lunar and 3Bomber Scale
We did a lot of side by side testing of these two scales. The 3Bomber starts up quicker, but the Lunar registers changes faster. As you can see, the 3Bomber's display is a lot brighter than the Acaia.

Pour Over Use
The scale is small but can work with most pour over systems up to 750ml, and possibly even 1l with smart positioning. The scale has a 2000g capacity.


Support CoffeeGeek
If you enjoy and learn from this resource, please consider making a one time or recurring donation to help support our work and fund purchases for future reviews.

Three Scales
The Microbalance Ti (left), Fellow Tally Pro (centre) and MHW-3Bomber Cube Mini (right). Note the size differences. The Fellow is the only one with an OLED display.
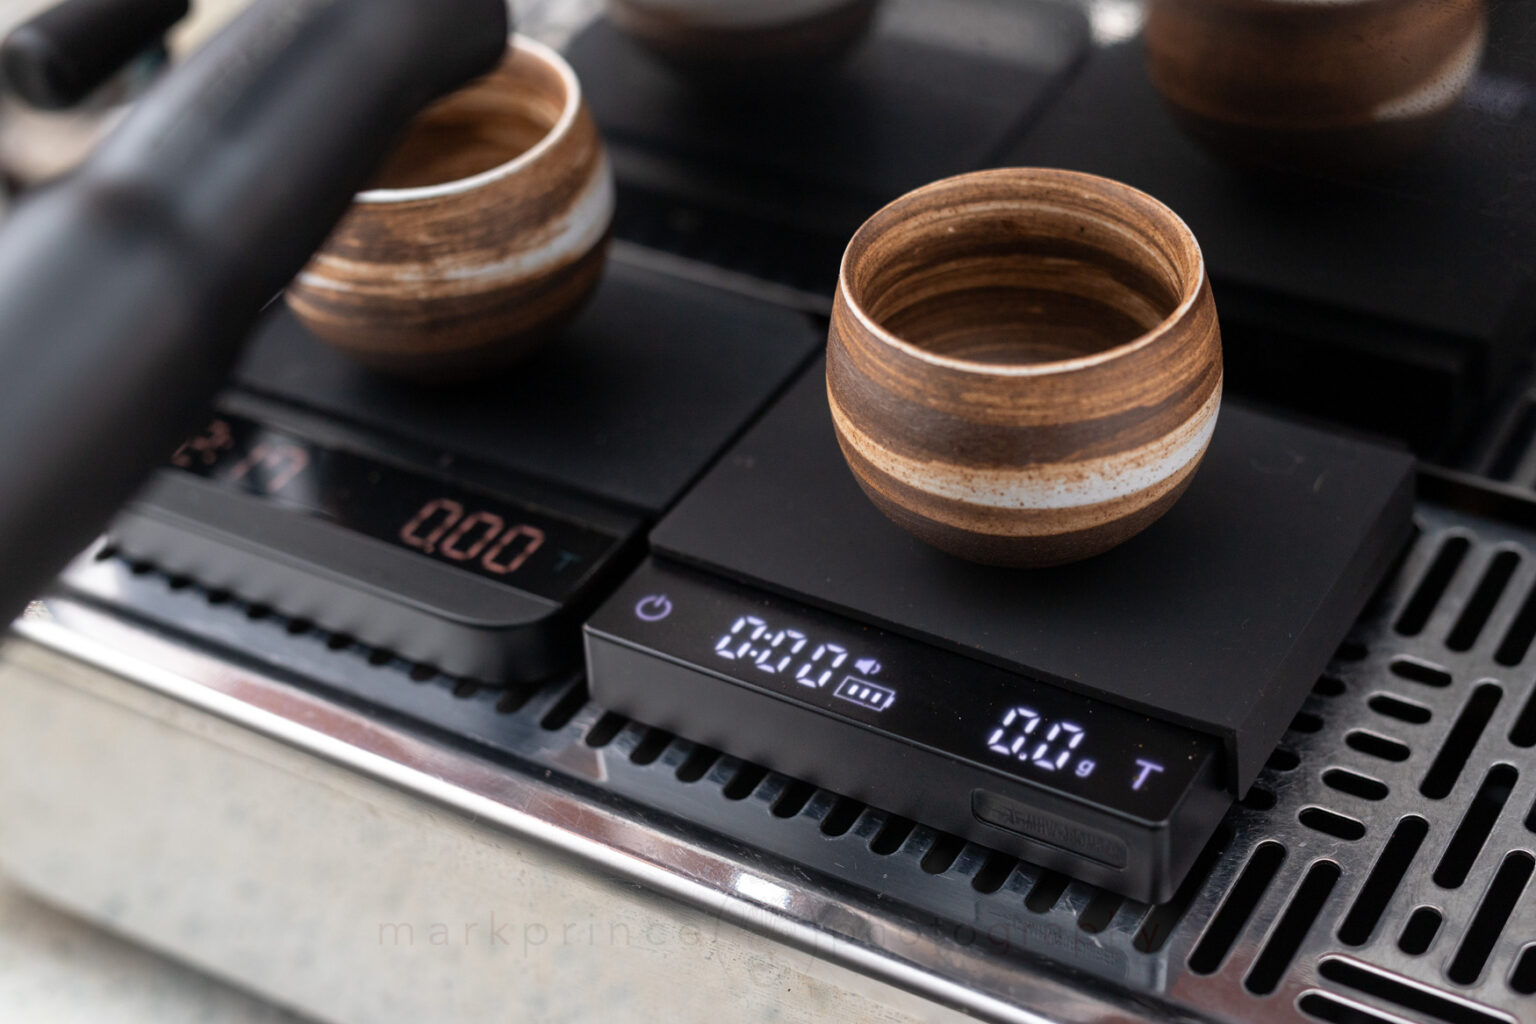
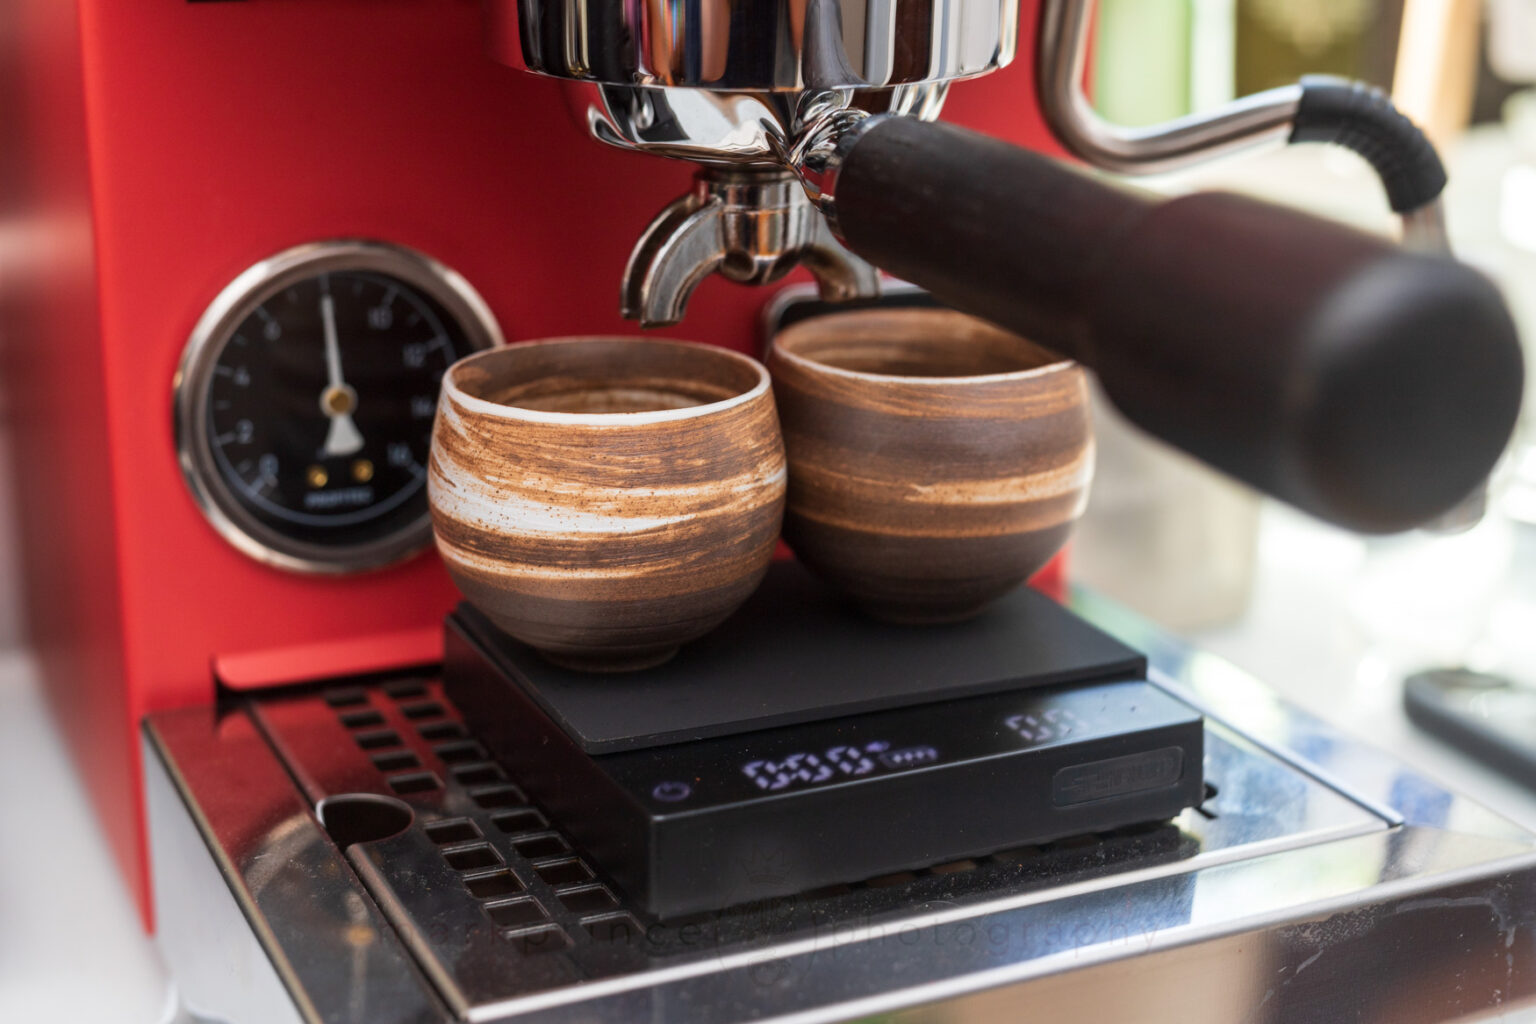
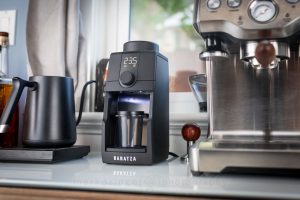
Espresso Machine Use
The 3Bomber Scale, next to an Acaia Lunar (on the left), on a GS3 espresso machine. Note the difference in displays.

Scales Side By Side


Support CoffeeGeek
If you enjoy and learn from this resource, please consider making a one time or recurring donation to help support our work and fund purchases for future reviews.


4 Responses
Hello,
thank you for the indepth review. I’m looking a for a scale for baking that measures < 1g increments – looks like this one fits the bill. Also, where did you get those fabulous espresso cups?
I was wondering also if any of these scales have a calibration mode?
I use an Acaia Lunar with my Decent XL and my scale has a brighter screen than seems shown in your images. Control of the Acaia is quite complex, with a steep learning curve, perhaps you missed an option for led brightness? Once I got an option that worked I stayed with it. Nevertheless, if this had been available I would have considered it. I can say that Acaia support is excellent, that may not be the case with a lower priced competitor.
I’m guessing you have the current Acaia Lunar 2022 model. They improved the brightness on it; the one in the photos is the pre-2022 model and it is very dim, and getting dimmer over time. There is no brightness setting on the pre 2022 model; the only change you can make is set the battery saver to dim the display 20% after a certain time, but otherwise, it’s a max brightness. As mentioned, it is getting dimmer over time, and for such an expensive scale, that’s an ongoing concern.
Also, I’ve been using these scales since 2014, and pretty much know every single feature they have 🙂